No usual WiP report today. Instead, I bring you…
The laptop cover! It is finally finished, and I’m actually quite pleased with the way it turned out. I’m a bit of a felting newbie, as I’ve only ever felted a couple of other projects before, and those were a few years ago. I’m not a big fan of felting in general, but I know that it produces a thick, sturdy fabric, and that is exactly what I wanted for this project.
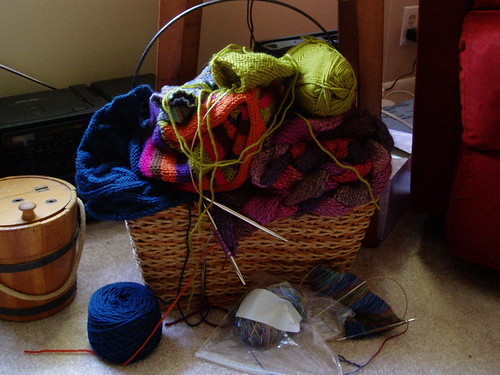
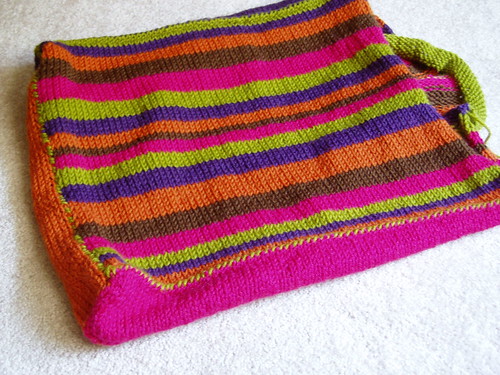
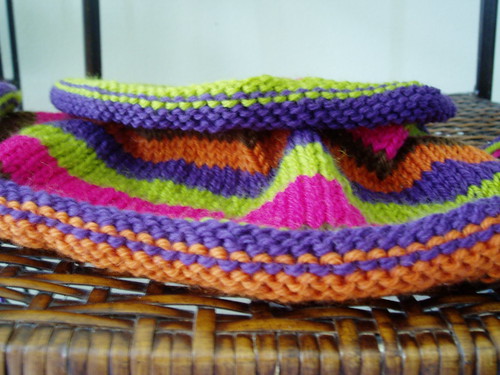
Here we are, pre-felting.
There are two large striped pieces, for the top and the bottom, whip-stitched together with the side strips, each of which is a single color. The lower green patch is the front pocket, and the other green patch is the flap closure.
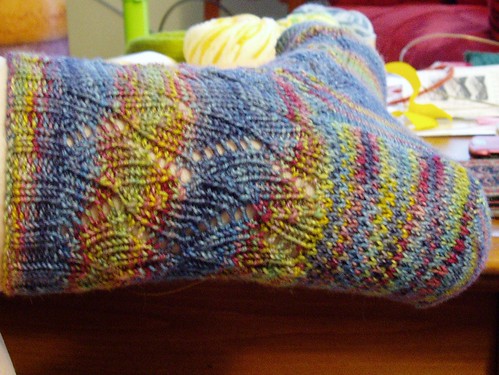
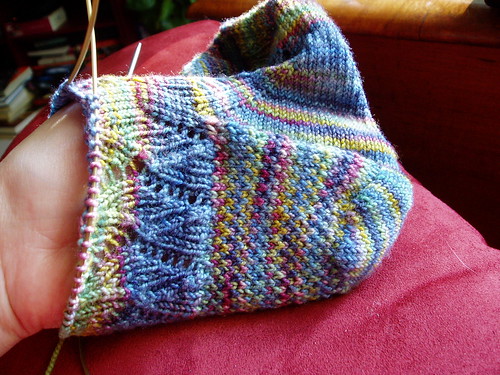
About the pocket. I wanted it to be large enough to hold the bulky power cord and mouse. I didn’t want to attach a flat square of knitted fabric that would then have to stretch over its contents. So I had the idea to add short rows to the bottom portion of the fabric so that it would be sort of three-dimensional. I’m not explaining that very well, but you’ll see what I mean further down. Anyway, short rows were added, and I was quite proud of myself, as I have very little experience with them apart from sock heels.
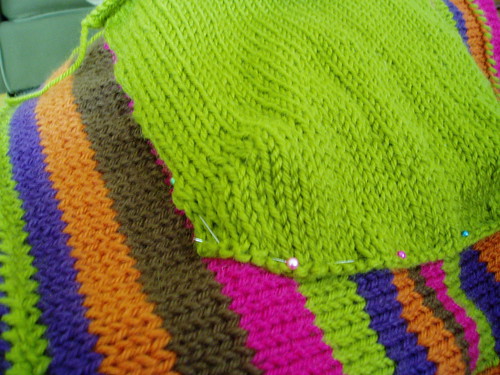
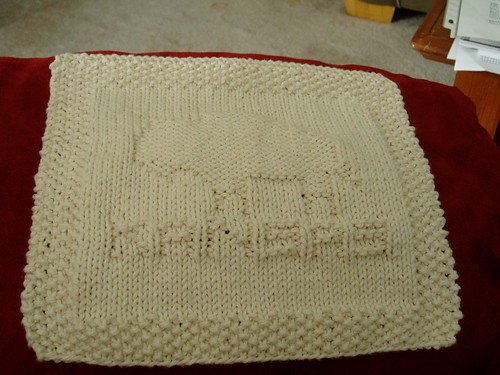
These are the ones on the left side of the pocket. The ones on the right side are not very pretty. I realized after the fact that I should have purled the wraps together with the stitches through the back loop, and was too lazy to go back and fix. I figured that since the whole lot would be felted, that little mistake would disappear, and I was right.
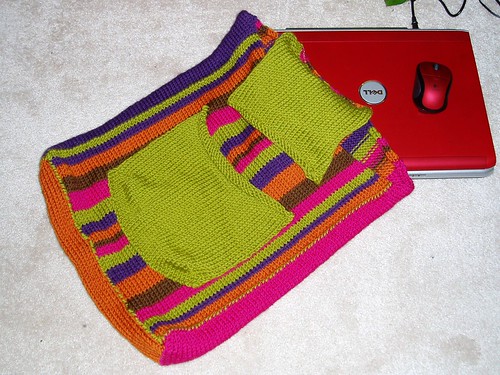
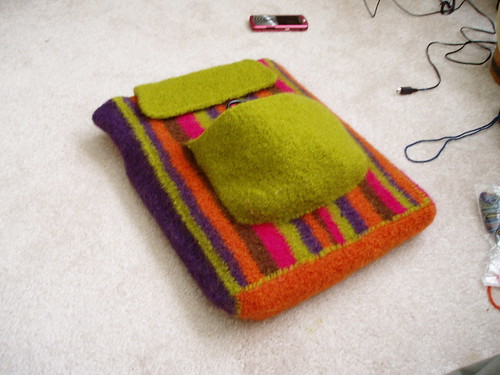
This one is a bit blurry, but it shows the construction well. See how the pocket sits away from the surface of the cover without stretching over the power cord and mouse?
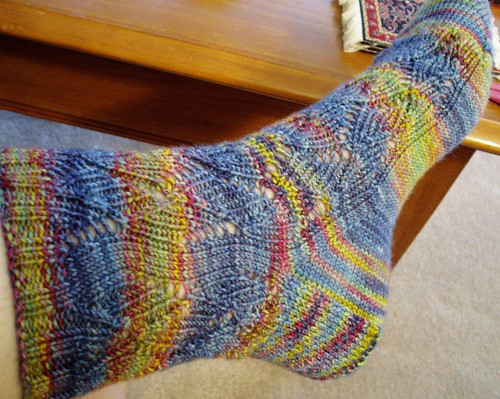
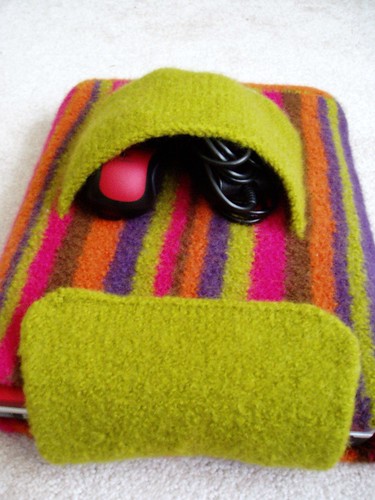
This one’s not so blurry and shows the curved bottom of the pocket.
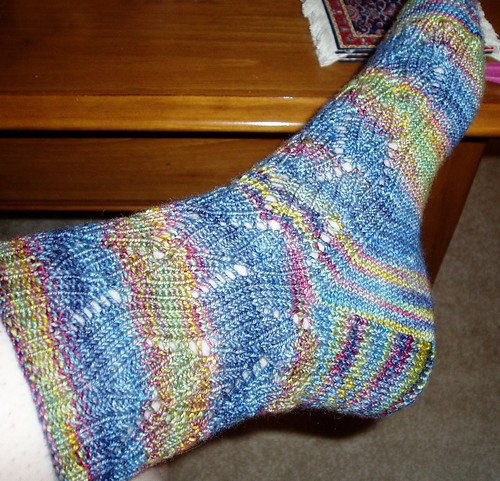
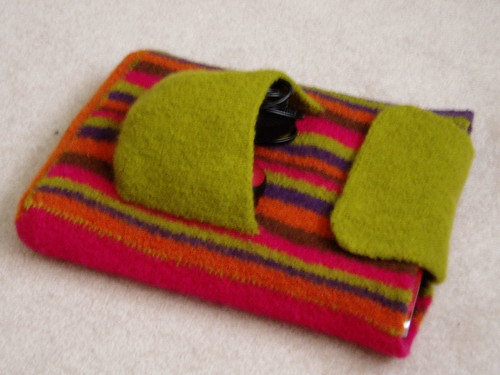
Now, about the flap. It turned out completely different than I expected, but I really like it. To make the flap, I picked up 40 stitches in the center of the back panel, at the open end. I worked in stockinette for about 45 rows, then decreased both ends every row for 3 rows, then bound off. My intention was for the flap to have slightly rounded corners. What I didn’t expect was that the fabric would shrink in such a way that the end that is attached to the bag (where the stitches were picked up) is narrower than the other end.
This one shows it a little better. I’m not sure why the fabric shrank the way it did, but I’m guessing that the bound-off edge was a little firmer than the edge with the picked up stitches, and therefore remained more stable in size when felted. No matter, though, because I like the way it looks. The only thing I have left to do, which won’t be done anytime soon since we’re leaving for vacation in 2 days, is to attach some Velcro to the flap to hold it down during use.
Here’s the details, as I remember them (I’m writing this at work [shhhhhh—don’t tell on me!] and don’t have my notebook with me]):
Felted Laptop Cover (pattern design my own)
Yarn: Lion Wool, 1 skein each of Lemongrass, Cocoa, Pumpkin, Rose (I think); Patons Classic Merino Wool, 1 skein of Royal Purple
Needles: US 10.5, 29” Addi circulars, US 11, 29” bamboo circulars (for cast-on and bind-off edges)
Start date: First week of August 2007
End date: 28 August 2007